Who doesn’t want a pipeline of future potential candidates? You’re making the most of your talent pools, but do you give candidates the opportunity to join a community or group to engage with other applicants as well as the recruiter?
Not all candidates are successful – you may want to keep in touch for future roles. Just because they aren’t the right fit for this role doesn’t mean that they won’t be for a future vacancy.
Communities can be created for job seekers with similar skills, interests or backgrounds. For example, a community might be created for job seekers who want to work in a specific industry sector. Each community will have a landing page that can be customised and will allow job seekers to login or register to your recruitment site. You can also control who can join the community and automatically assign them tags and membership to discussion groups when they join.
A community can be created for any chosen purpose;
- new starters
- redeployment pool
- alumni
- graduates
- different divisions, branches, areas you recruit for
- internal engagement hub
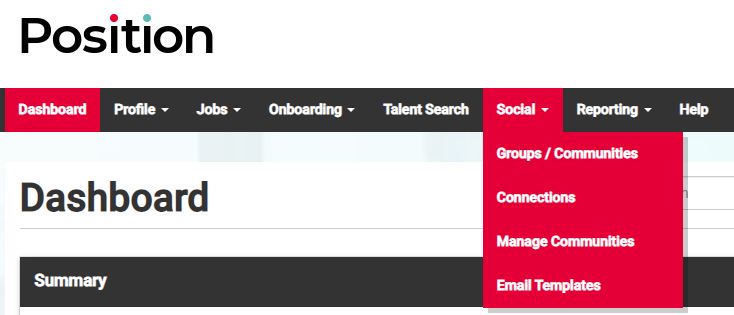
Once a community has been created, you can view it by selecting Social from the top navigation menu and Manage Communities.
This will display the Manage Communities screen, from here you will be able to see Communities that have already been created by you or your colleagues;
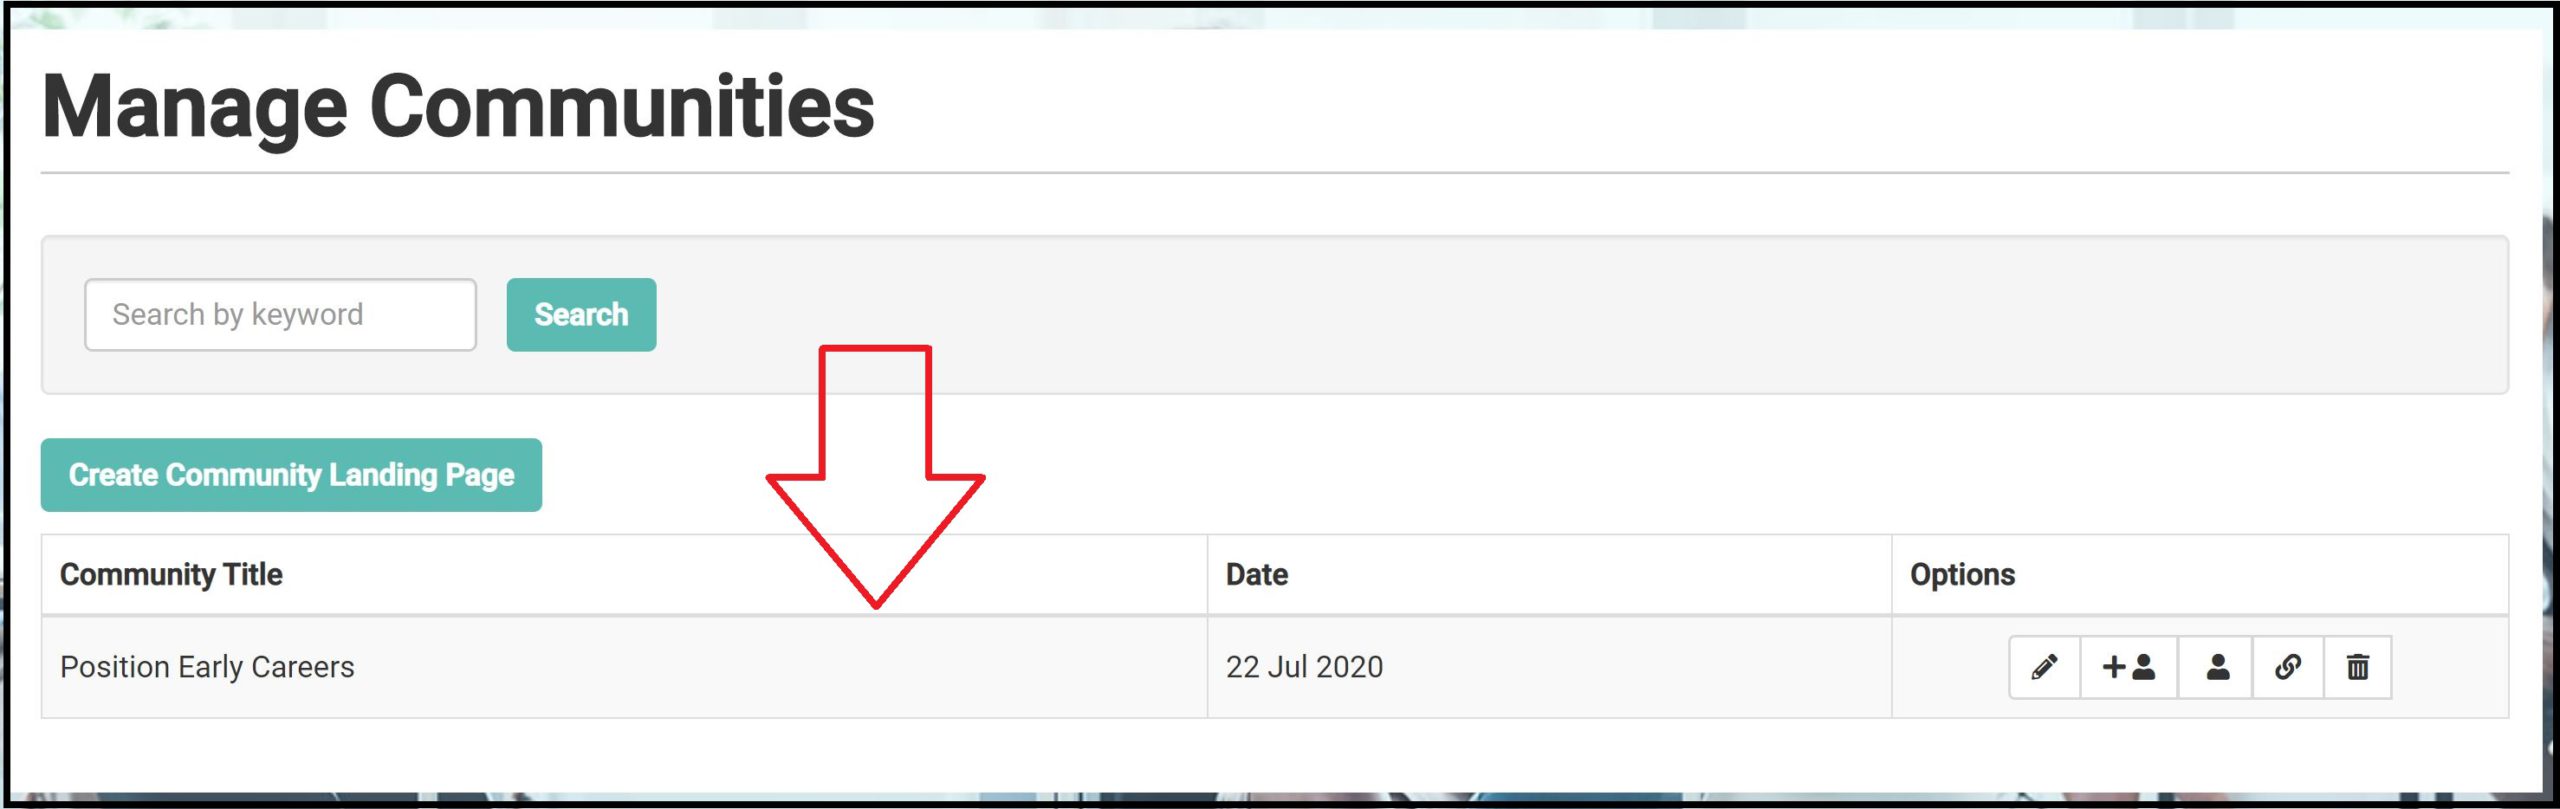
By selecting the name of the Community, you will be able to review the landing page in full.
If you would like the link for the community landing page, click the ‘link’ icon located to the right of the community name:
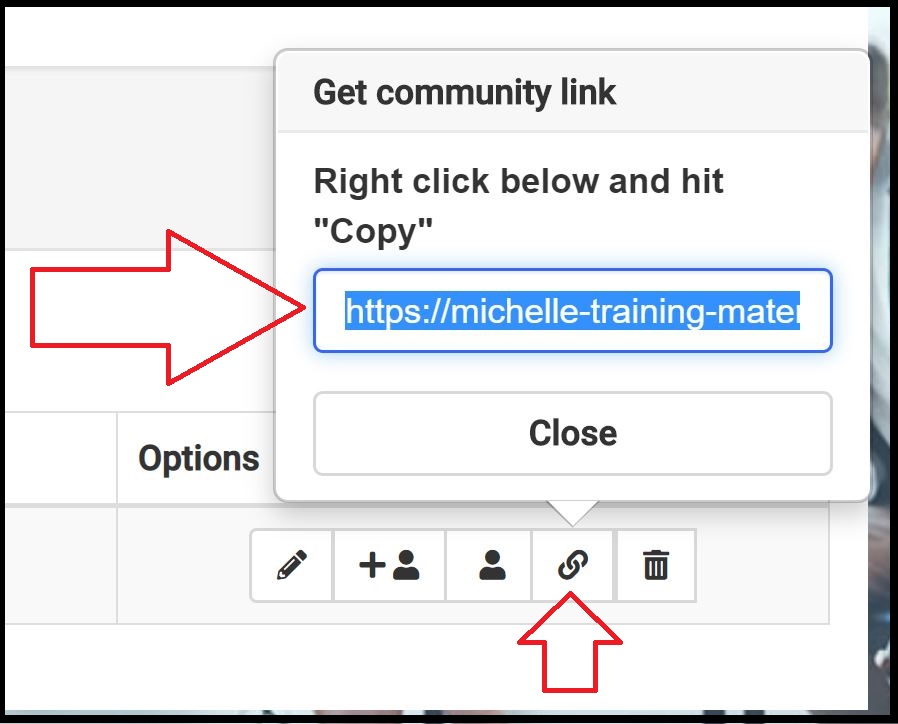
Copy the link by right clicking the mouse. Click the Close button to close the pop-up.
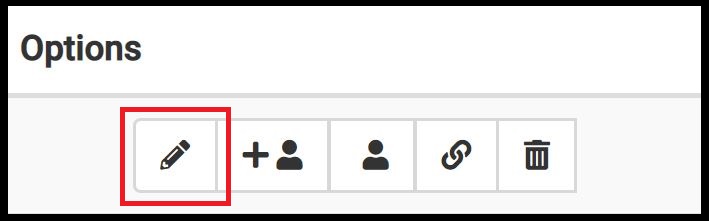
You can also search, edit, invite people to join, view invited people, delete or create a new community, by selecting the icons available.
For more details on creating communities, see Create a Community.
Search communities
To search for a community, enter a search term in the text box and click the Search button.
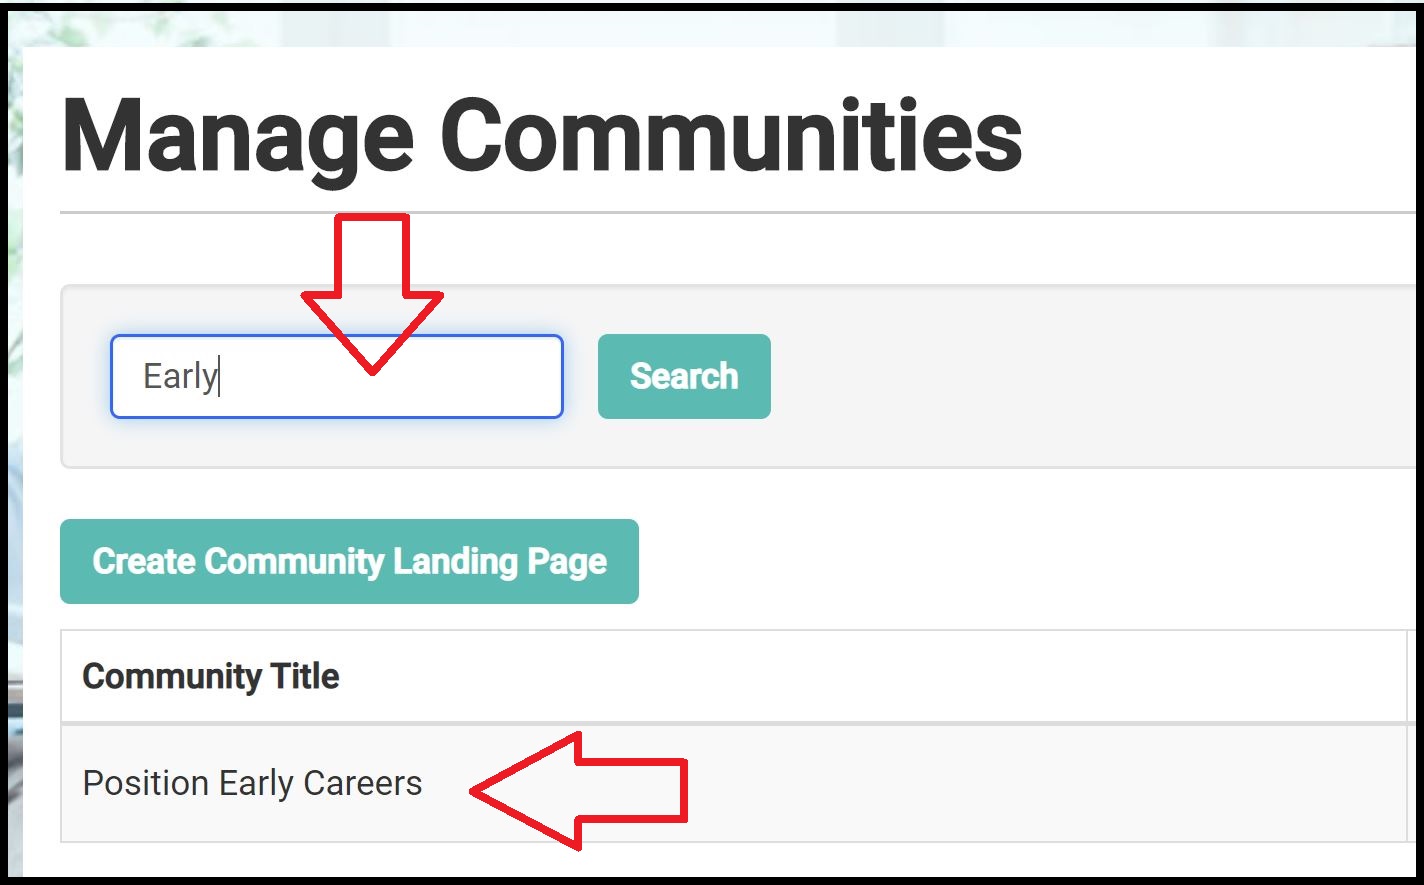
To re-display all communities, delete all text from the text box and click the Search button.
Edit a community
To edit a community landing page, click the ‘edit’ (pencil) icon located to the right of the community name:
This will open the Create Community Landing Page prefilled with the details of the community you wish to edit. It is possible to edit all the details displayed.
Logo
Click on the ‘Edit’ icon or ‘Upload logo’ to upload an image (max 150px x 90px). If you want to remove the logo, click on the x button:

Community Title
Select the title field and add/remove any text to create the name of your Community Landing Page.
Landscape Images
Click on the ‘Edit’ icon or ‘Upload landscape image’ to upload an image (max 205px x 110px). If you want to remove the image, click on the x button:

Body text
Type into the text box to amend the body text. Use the formatting options if you wish to format the text

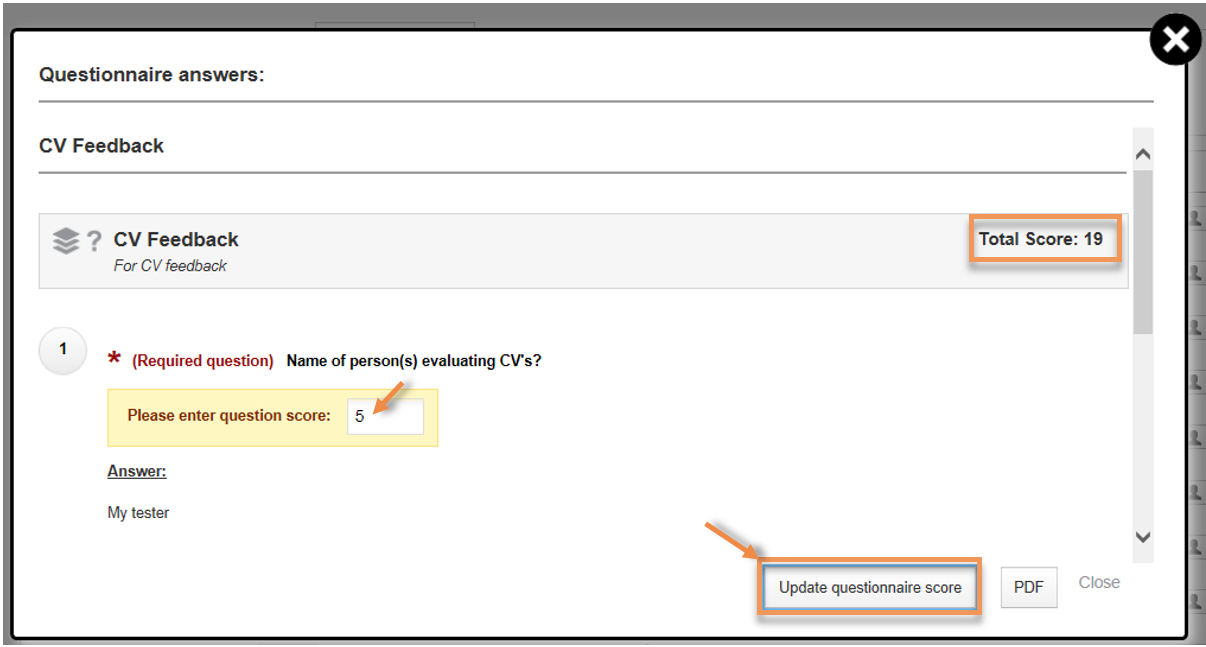
Assign Questionnaire
Why not invite everyone who joins your community, to answer a questionnaire that you’ve built –
This could be anything you need it to be, from –
- Creating a hub for redeployment employees
- Recruitment satisfaction surveys
- A community for each branch, site or division you run
- New starters
- Alumni
Simply build your questionnaire then upload it as per the image below.
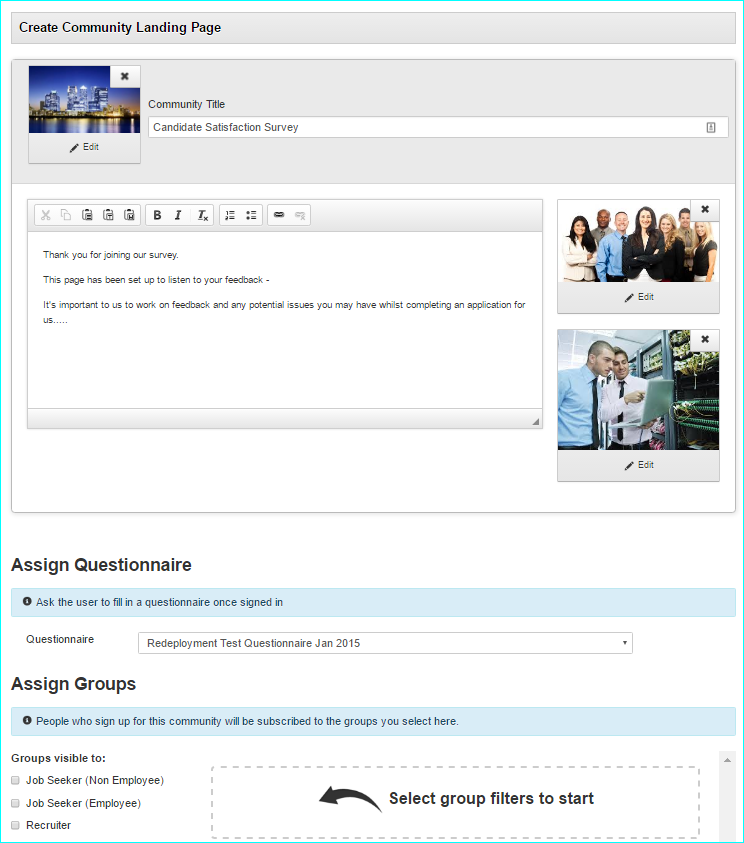
Assign (or create) groups within your community
To automatically subscribe users to groups when they join the community, firstly select the user-types then select groups by ticking the checkboxes. You can remove groups and users by deselecting the checkboxes.
Create a new Group (see image below)
You can create a new group by clicking the + Create new group button and entering the following information:
- Group Name: Type to enter text (required)
- Group Visibility: Select the appropriate radio button (required)
- Description: Type to enter text (up to 500 characters) (required)
- Groups available to the following users: Select the appropriate check boxes (required)
- Allow Comments? Select the appropriate radio button
- Allow Jobseekers to create threads: Select the appropriate check boxes (required)
- Allow File uploads: Select the appropriate radio button
- Group Photo: Click the Browse… button to upload an image(up to 2mb)

After you’ve clicked Create new group – you’ll be asked to complete the details as in the image below –

*Tip! Please consider who you want to be able to see and join your Group – the visibility settings are;
Public – any candidate will be able to see and join your Group
Private – the Group will be visible, however the candidate will need to ask for permission to join, which the Group manager grants
Invite only – the Group is only visible to those who you invite to join
Click the Create group button to save your changes:

For more information about groups, see About Groups.
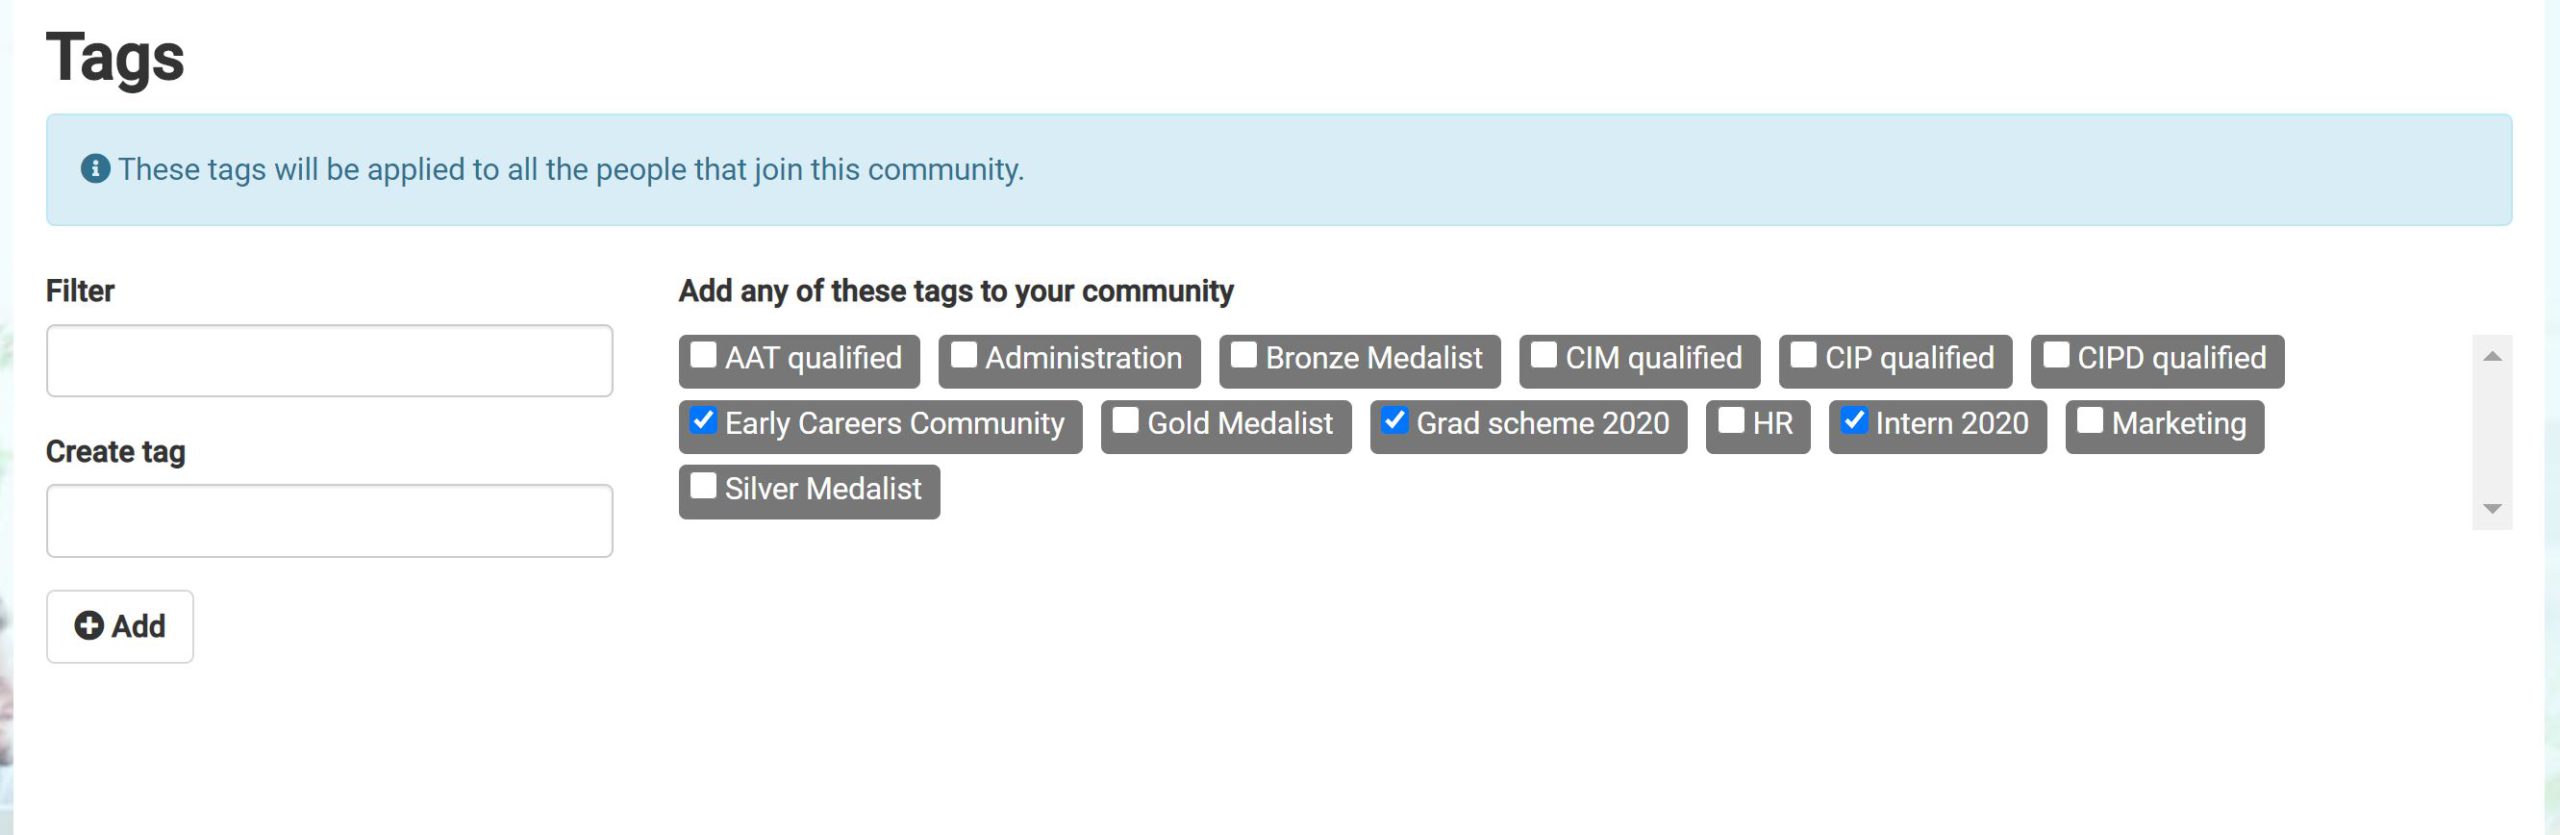
Assign Tags
To automatically assign tags to users when they join the community, select the relevant tags by ticking the checkboxes. You can remove tags by deselecting the checkboxes.
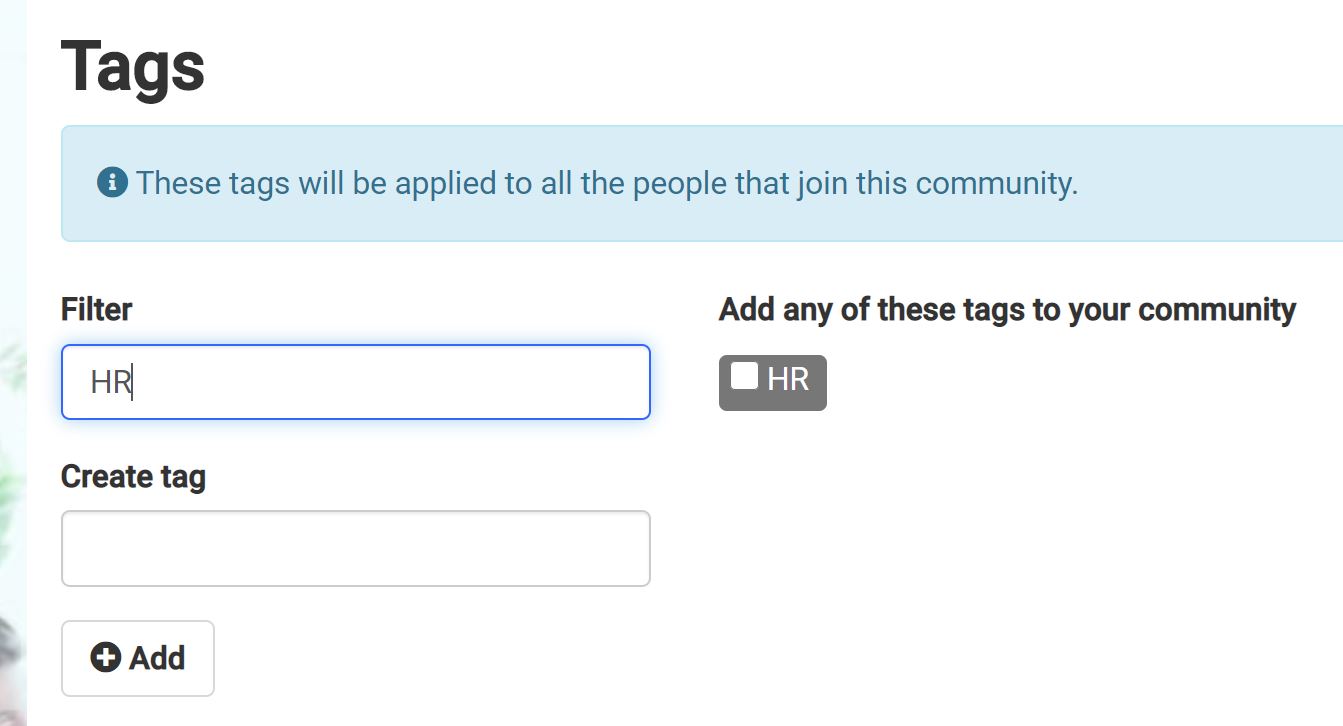
To filter tags, type the search term in the Filter text box. In this example, tags have been filtered to those containing the term ‘tr’:
To create a new tag, type the tag into the Create tag textbox and click the + Add button:

The tag will be added to the list of existing tags and automatically selected to anyone joining your community.
Having the members of your community tagged, means that you will be able to easily identify them within your candidate database.
Community Access
You can add or amend a PIN by typing in the box:
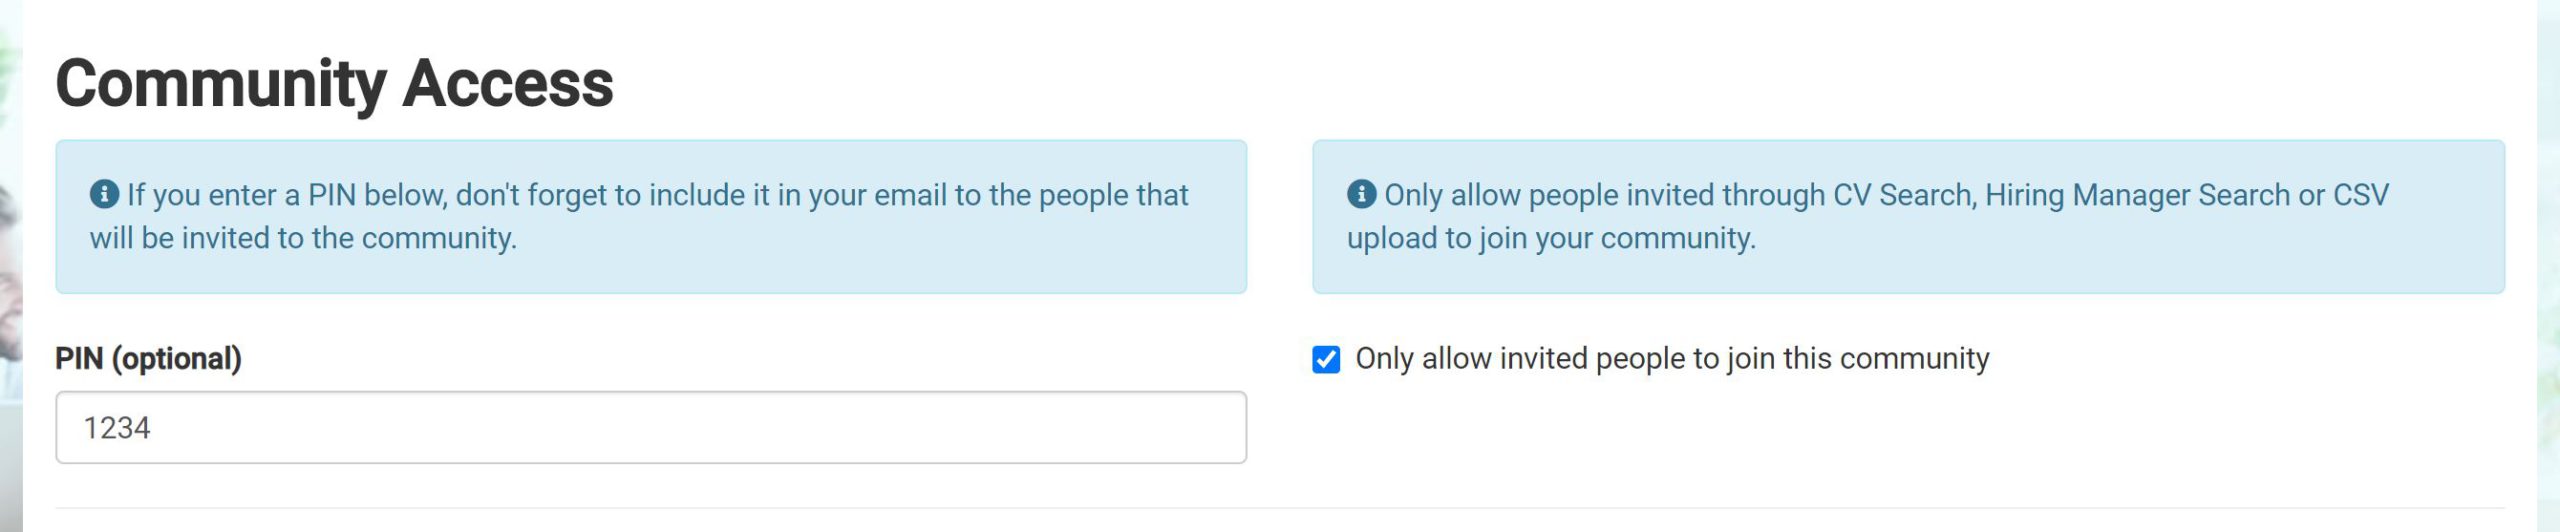
Delete a PIN by clicking the x.
To only allow invited people to join the community tick the checkbox:
Remove the tick to allow any user to join the community.
Buttons

Click the < Back button to return to the Manage Communities screen without saving your changes.
Click the Preview button to view a preview of the community landing page (click X to close the preview).
Click the Save Only button to save the changes and return to the Manage Communities screen.
Click the Save and go to invite people > button to save the changes and proceed to inviting people to join the community (see section below for more details).
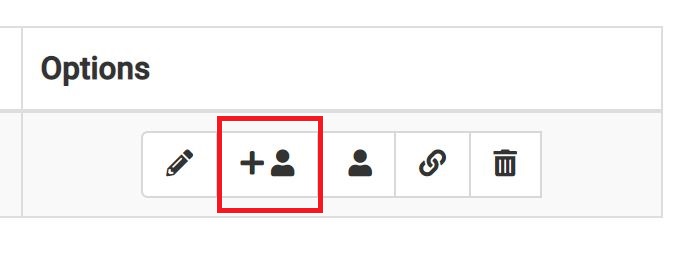
Invite people to join a community
To invite users to join a community, click the ‘invite’ icon located to the right of the community name:
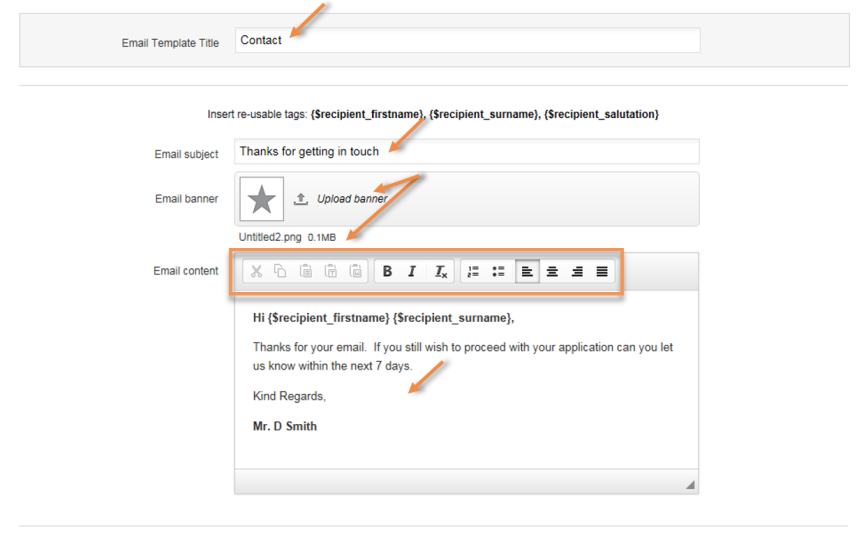
This will open the Email content screen. From here, you can create an email to send to the users you wish to invite to join the community.
Email content
You can choose to edit the email content that is displayed by selecting the text in the email subject and or content box, you can choose to delete text or enter additional text.
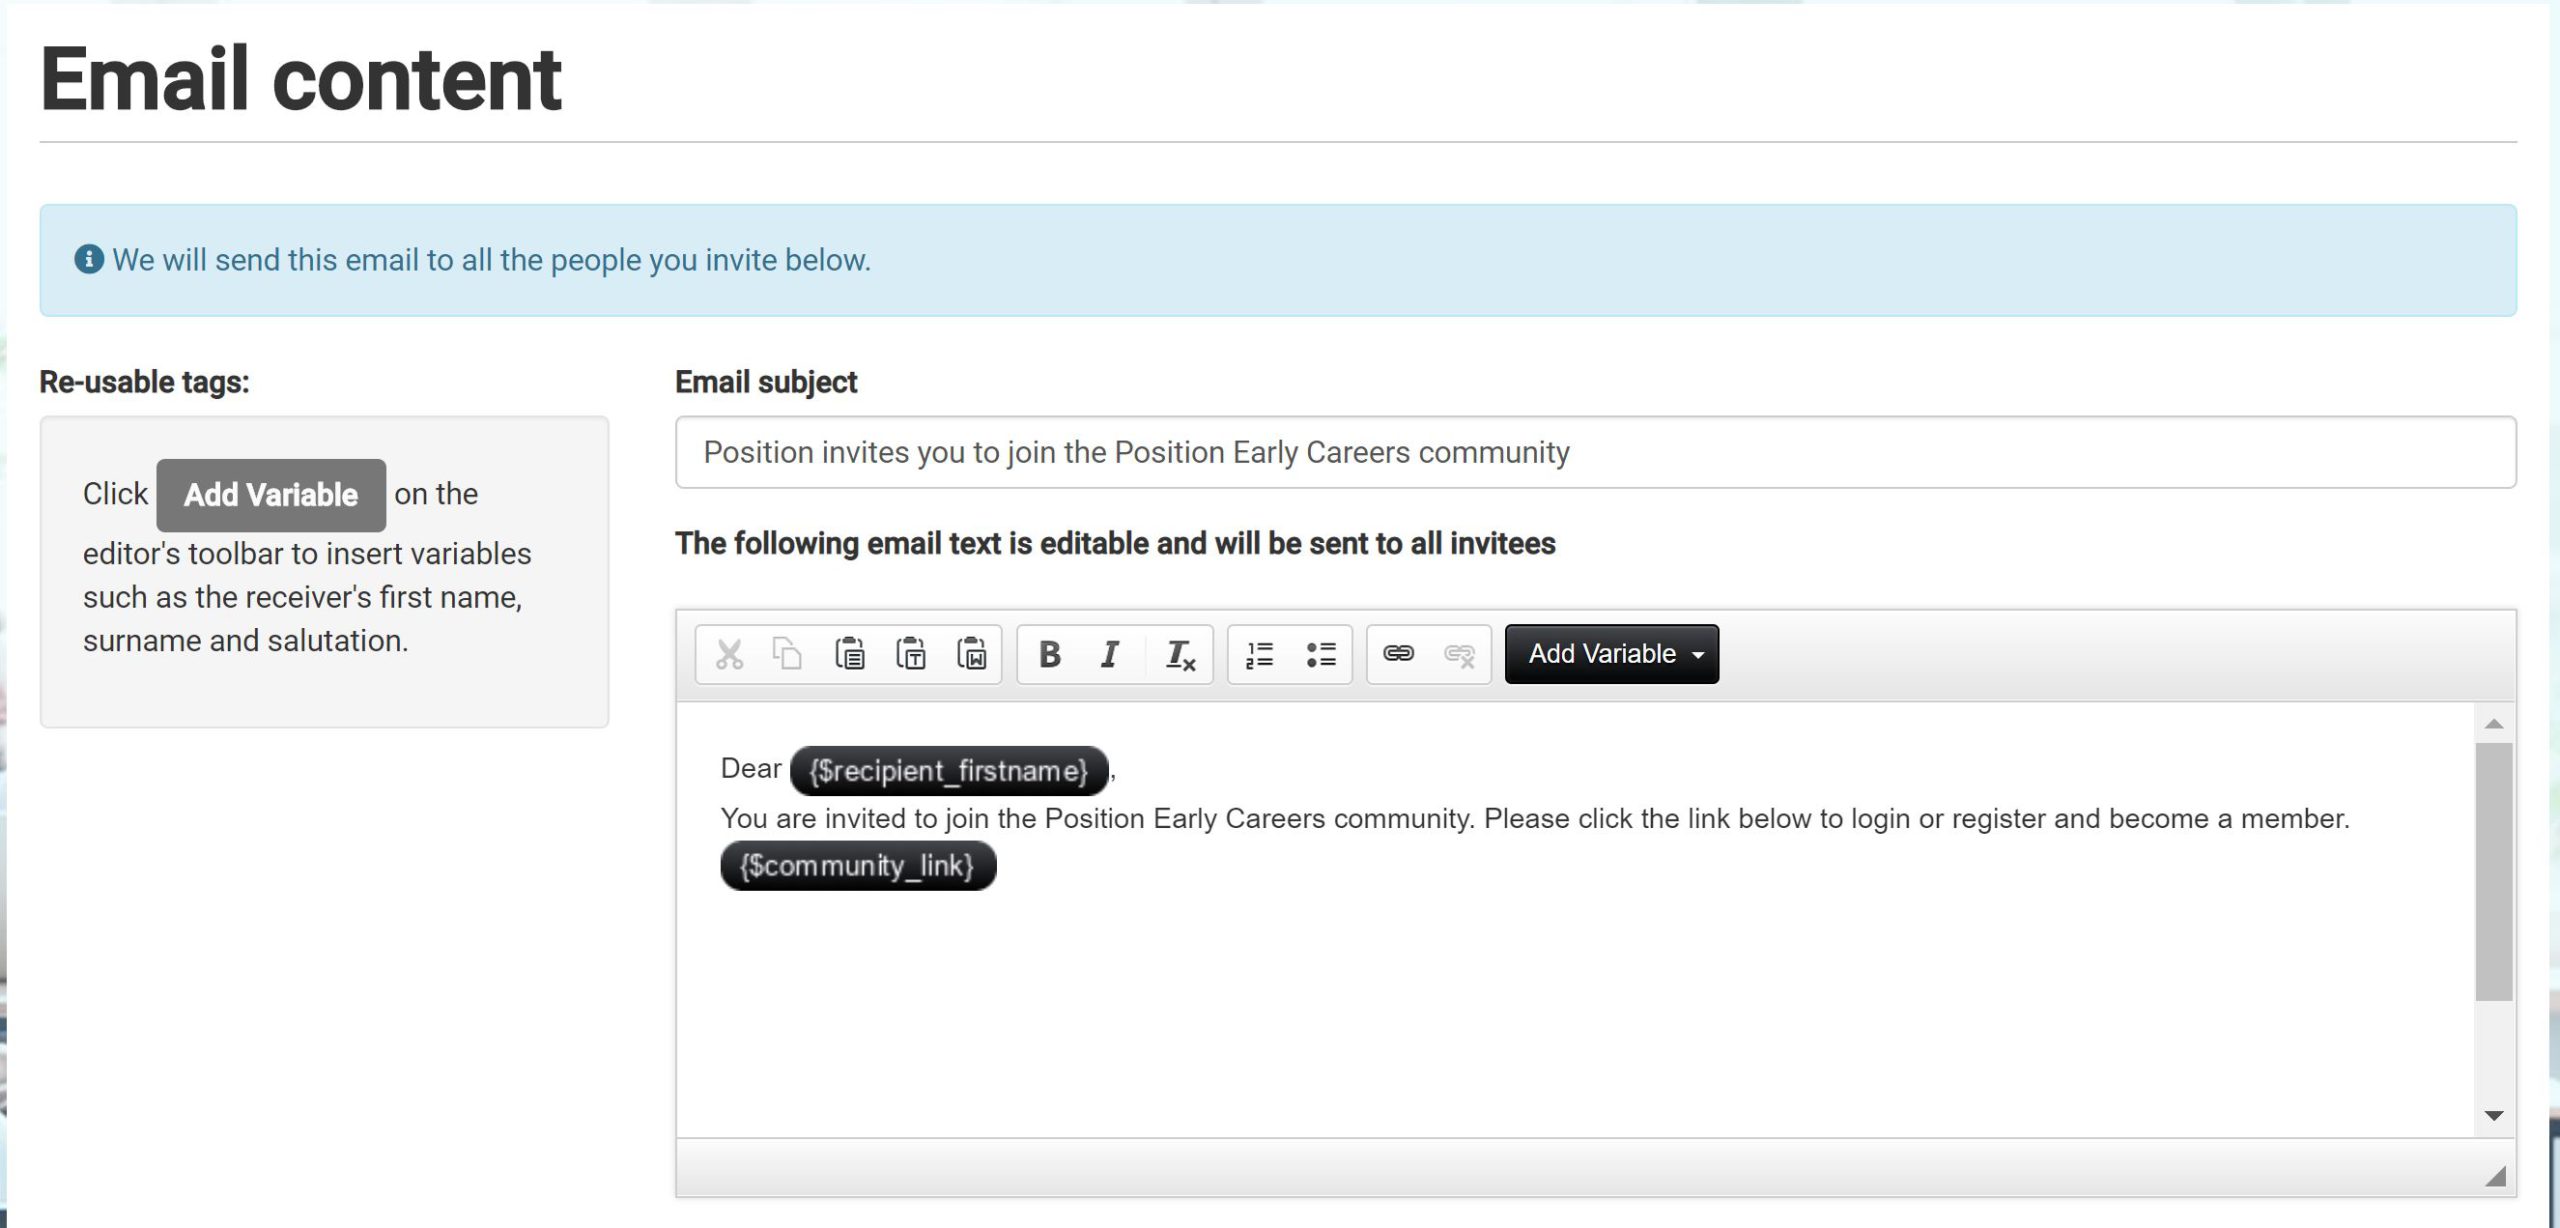
You can also insert the following variables by clicking on the Add Variable drop-down and selecting any of the options from the list.
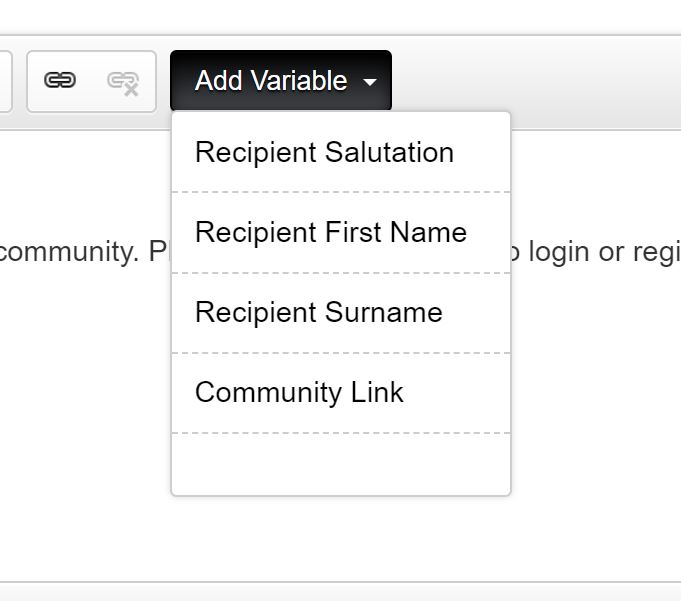
When these variables are used they will be replaced in the email with each recipient’s salutation, first name, surname or the link to the community landing page. The variables can be used as many times as required.
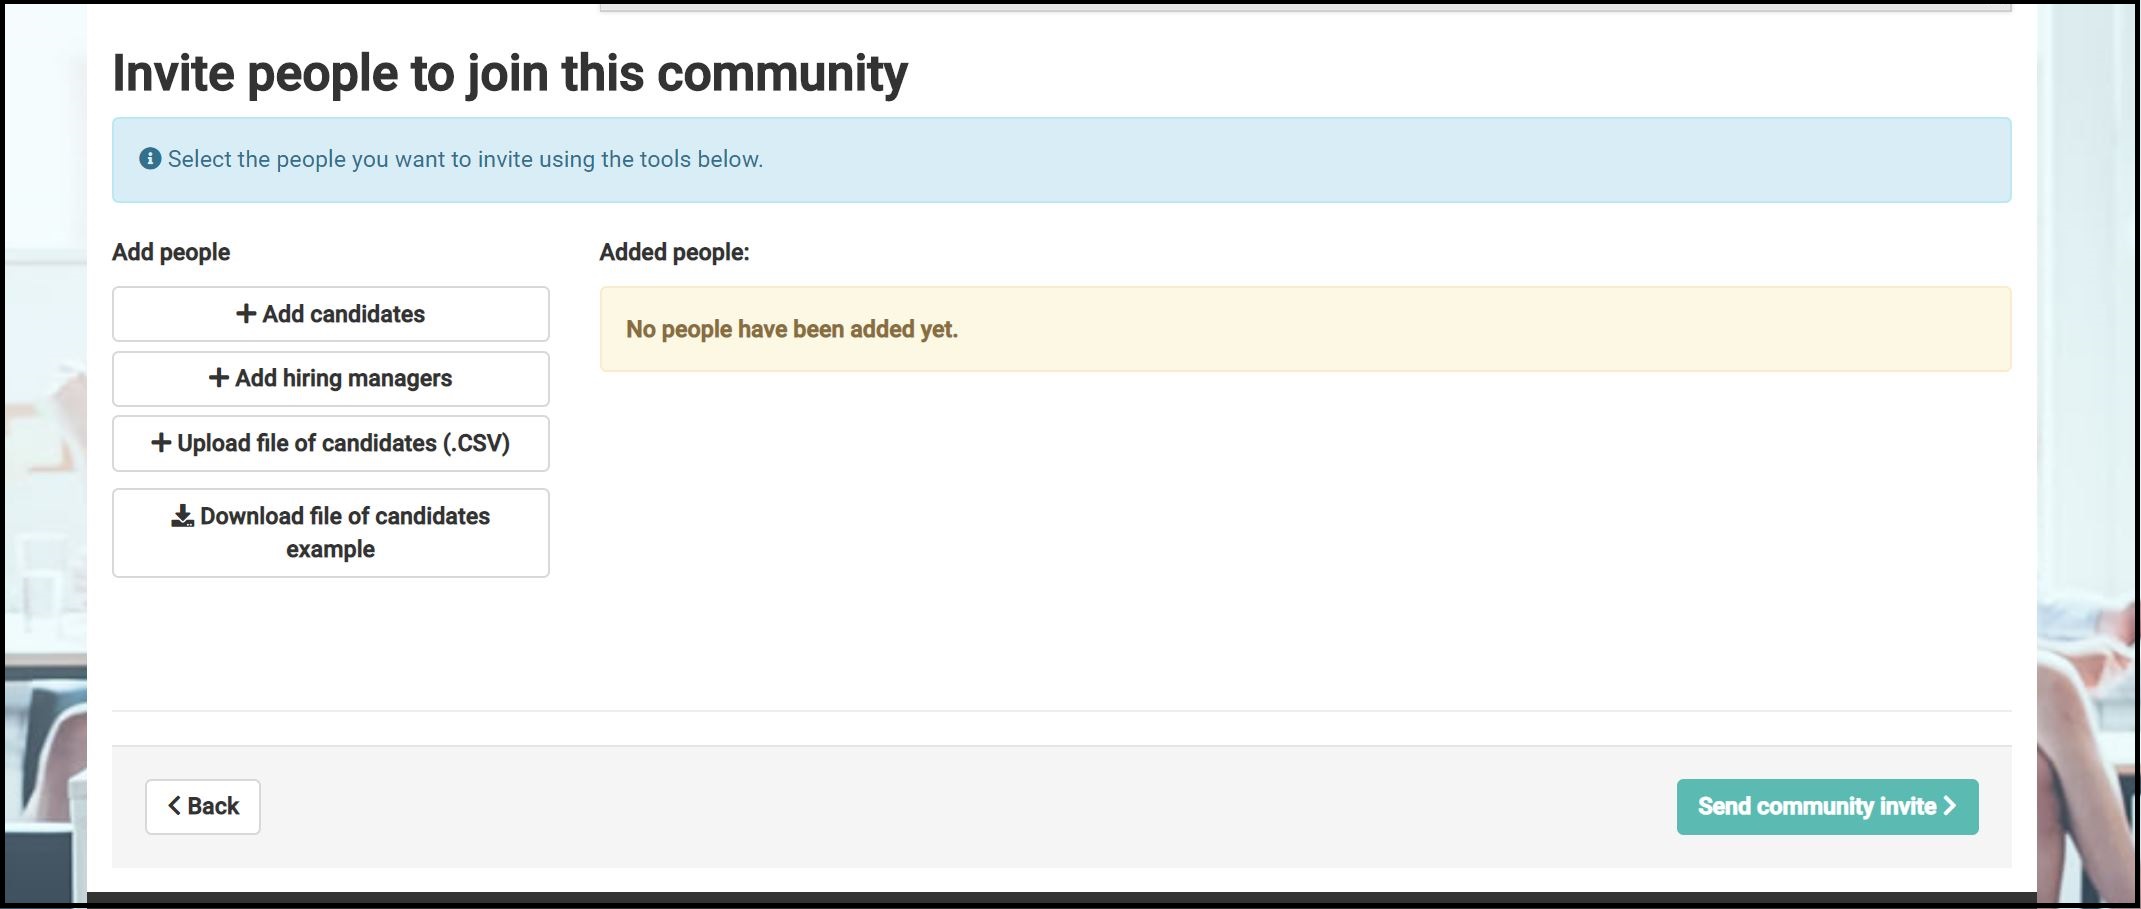
Invite people to join this community
Recipients for the email can be added either manually or by uploading a CSV file.
Manually select users
To select users, firstly click the user group you wish to add, Candidates or Hiring Managers:
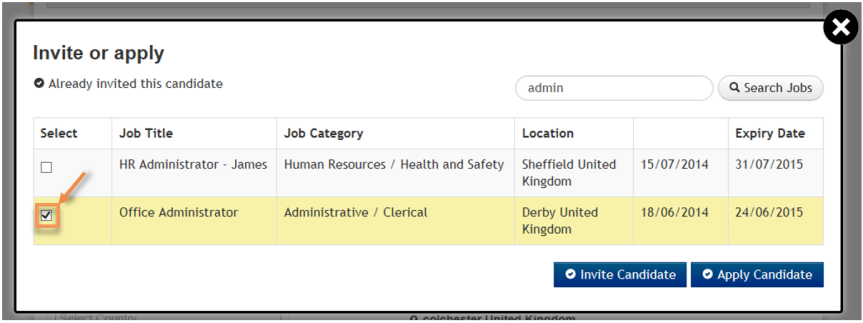
This will open a pop-up enabling you to search and select users from the user group.
When choosing to search for candidates, this will open the CV\Talent Search functionality. For more details on how to search and select candidates, see Search CVs for candidates.
When choosing to search for hiring managers, a similar screen will be displayed, but without candidate specific options.
When you are happy with the selected users, click the Add selected candidates button or Add selected hiring managers :
Alternatively, you can exit without saving your selections by clicking x Cancel or the X located at the top right of the pop-up.
When users are selected the pop-up will be closed and the users will be listed under the Added people: heading. If any users cannot be added to the list, a notification will be displayed.
If you want to remove users, simply click the rubbish an icon located on each user name.
Upload file of candidates
You can upload a CSV file containing a list of recipients for the email. Click on the Download file of candidates example button to open an example file that can be amended with the list of your recipients. Save the file, then upload by clicking on the + Upload file of candidates (.csv) button.

Send community invite
When you are happy with the list of email recipients, simply click the Send community invite > button.
Click the <back button if you wish to return to the Manage Communities screen without sending the invite.

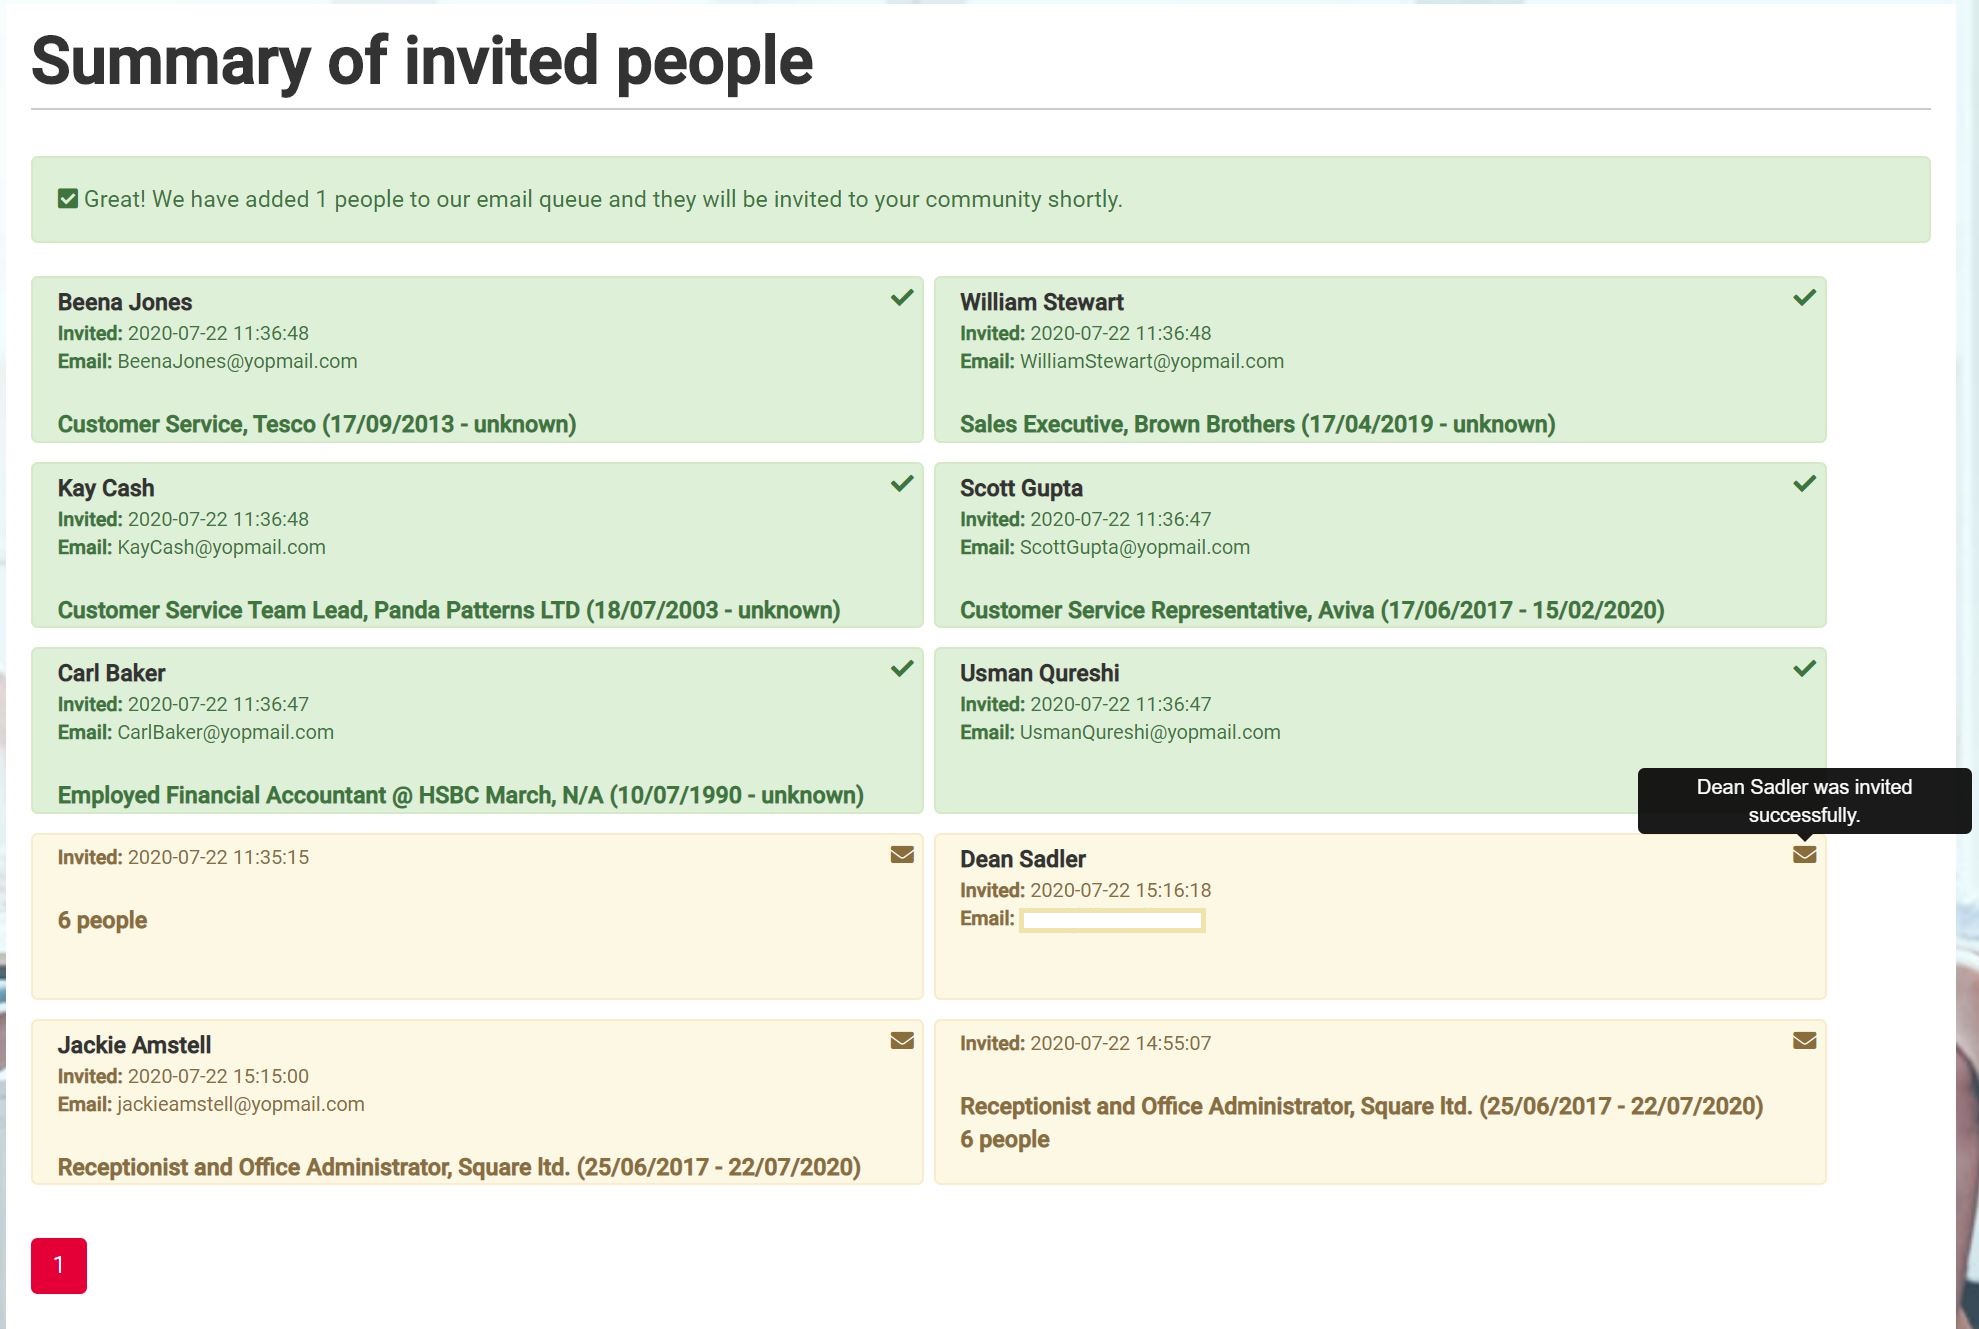
Summary of invited people
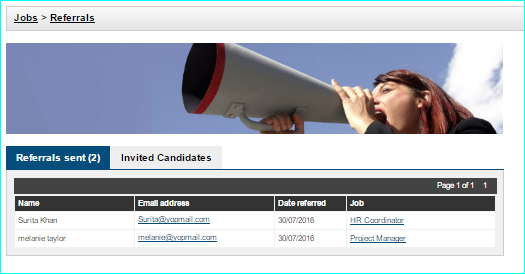
When the invite is sent, the Summary of invited people screen will be displayed with a confirmation message. Click on a username if you wish to view their Candidate Overview. Hover the mouse over the icons at the top right of each user name to display more details:
Click the Go to communities dashboard > button to return to the Manage Communities screen.
If you wish to invite more users, click the <back button.
View invited people
To view invited people, click the ‘view’ icon located to the right of the community name:

This will display the Summary of invited people screen. Click on a username if you wish to view their Candidate Overview. Hover the mouse over the icons at the top right of each user name to display more details:
Click the Go to communities dashboard > button to return to the Manage Communities screen.
If you wish to invite more users, click the <back button.
Delete a community
To delete a community, click the ‘delete’ icon located to the right of the community name:
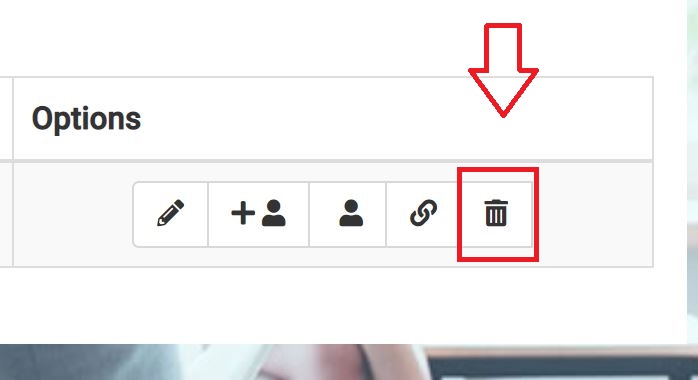
Then click the Yes button, or click No to cancel.

> Help & Support


