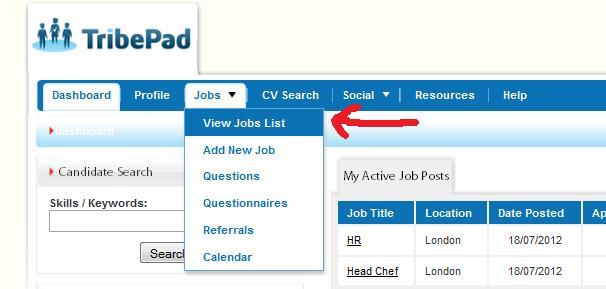
To create a new vacancy within Tribepad, click on Jobs in the top navigation menu and select Add New Job –

This will open the Job Editor. The tracker bar at the top of the screen tells you how far along you are in the process of submitting the job post:

You have the option to create a new job post or to use an existing job template. To create a new job template see Create a job template.
Using an existing job template
If you want to use an existing job template click on the Filter by Job Template Category dropdown arrow to display the list of template categories to filter by and select the category you wish to use. Then click on the Choose Job Template dropdown arrow to display the list of available job templates and select the template you wish to use. In this example, the category selected is ‘IT/Software Development’ and the job template is ‘Developer’:

When the job template is selected, the job post will be pre-populated with the template details.
For more details on creating job templates, see Create a job template.
Adding a Pre-Screening Questionnaire
Questionnaires can be added to the job according to candidate type. To add a questionnaire, select the appropriate dropdown arrow to display the list of questionnaires and click on the questionnaire you wish to use. In this example, the General Questionnaire has been selected for external candidates and the Developer questionnaire has been selected for internal candidates:

For more information on creating pre-screening questionnaires, see Pre-Screening Questionnaires.
Integrations –
At this point, you may have integrations, such as;
- Video Interviewing
- Skills or psychometric testing
- Right to work checks

Assign roles for this job
Here’s where you can share the job with your colleagues. The default assigned role for the job is Job Hiring Manager.
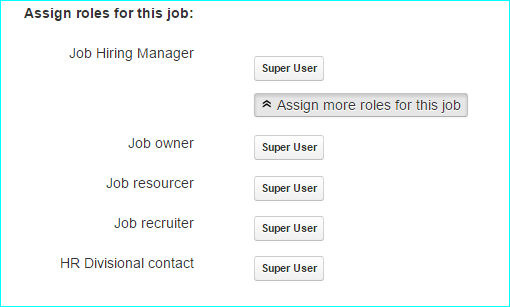
To change the assigned user, click on the username to display the Select hiring manager for the job panel and click X located to the right of the assigned user:
Then click the arrow located to the right of the user you wish to assign to the role, then click Save.

You can assign more roles and users to the job by clicking Assign more roles for this job again, and repeating the steps above for other roles, ie Job resourcer.
Tailor Your Candidate’s ‘Application User Journey’
Click here to completely tailor the candidate’s application journey –
For example, when recruiting for a senior role, you might prefer to shorten the application journey by turning off many of the profile builder features – doing this will shorten the candidate’s application time. Just ask for a CV and make it required
You can also reorder any of the requirements that have this symbol – simply drag & drop them into the order you want where you see this symbol – 
If an option is grey it means it is disabled for this job. If it is green then the candidate will be asked for those details. For example, on the ‘Profile Builder’ section in the screenshot below, you can click on ‘Education’ – in the screenshot you can see it is grey but if you click it then it will turn green. If it is grey then the candidate will not be prompted to add education details to their profile. Similarly for career and skills.
If you turn an option on you can make it optional or mandatory. If it is optional then the applicants will not be forced to complete the section during registration/application but they will be prompted and given the option to add them. This may be good for Graduate roles where you can ask candidates for career history but make it optional, as some candidates will have had jobs whilst others will not.

Tip! – take the opportunity to ask your candidates for additional documents, for example a portfolio, video or audio for a creative position.
The ‘Additional Fields’ section includes things like the candidates’ industry sector, ideal salary, distance willing to travel etc. You can turn these on or off as well.
You can also see the square icon to the left of many of the toggles which indicates that you can move this section of the application process to a different position, and allows you to have full control over the candidate experience for your different jobs, and have different experiences for different jobs. So you don’t have to make a Security Officer role go through the same experience as a Project Manager, for example.
You can also see at the top of these options that you can turn some of these sections on the registration page. Depending on how you set up a job, this means you could present all your questions to a candidate on one page, including the questionnaire.
This is a very powerful option if you are not wanting to collect very much upfront information from your applicants – but note that we do not recommend placing the questionnaire on the registration page unless it is short. Please also note that you can only put linear questionnaires on the registration page as branching questions would be confusing for candidates if they were also on the registration page.
Application Progress Bar
Please note the show application progress bar – this is located at the bottom of the above image, under custom application user journey, and allows the candidate to see where they are in the application process – how far they’ve come, and how far they have to go –
Here’s what it will look like to the candidate, when applying for a role –

And here’s the extended version – notice that each stage tells you what that stage is –

Application Restriction Groups (this feature is located on the first job editor page when creating a new job)
You can set up a ‘restriction group’ per vacancy, which restricts candidates from applying for the same type of job within a defined time period, for example once every 6 months, or once per year.

Max Applications
A typical restriction group could be “Restriction 1 – Max. 4 applications within 365 days”. Candidates will ONLY be able to apply for 4 jobs, for jobs set up with this restriction group.
They will still be able to apply for further jobs if they do NOT have this restriction group applied.
For example:
- A candidate applies for 4 jobs
- They have reached the maximum number of applications, and can no longer apply for any other jobs with this setting for the specified time period
- When the time period has passed, the counter is reset and the candidate will be able to apply for jobs with that setting
Max Unprocessed Applications
An example of a max unprocessed application is “Restriction 2 – Max. 3 unprocessed applications within 1 days”
For the max unprocessed applications, a candidate can have up to 3 unprocessed applications within 1 days for jobs with this setting. Status’ such as hired, rejected or withdrawn applications are considered processed.
So for example:
- A candidate applies for 3 jobs
- They have reached the maximum number of applications, and can no longer apply for any other jobs with this setting for the specified time period
- Then, when the candidate is processed into either hired, reject OR withdrawn for one of the jobs, then the counter is reset to 2 applications
- Because the counter is reset, and they have been processed for one of the jobs, they can no apply for a further 1 job with that application restriction group attached
Job Details
Enter the details of the job into the boxes. The fields marked with * are mandatory.
Salary Text
The Salary Text box helps match candidates to relevant jobs. If it is left blank it will display the salary values only. If it is populated, for example with the word ‘competitive’ or a grade, the candidate will not see the salary on your advert.

Postcode
The postcode is used to display the location of the job on a map, so if entering a postcode ensure it is entered correctly. If a job is in multiple locations, just specify an area, such as UK.

Applicant type
Click on the Applicant must have a full profile? dropdown and select one of the two available options. This will enable you to set whether a candidate must have a full profile to apply for the job or not:

Twitter
If you want the job to be posted to your company twitter feed then click on the Post to Twitter dropdown and select ‘Yes’:

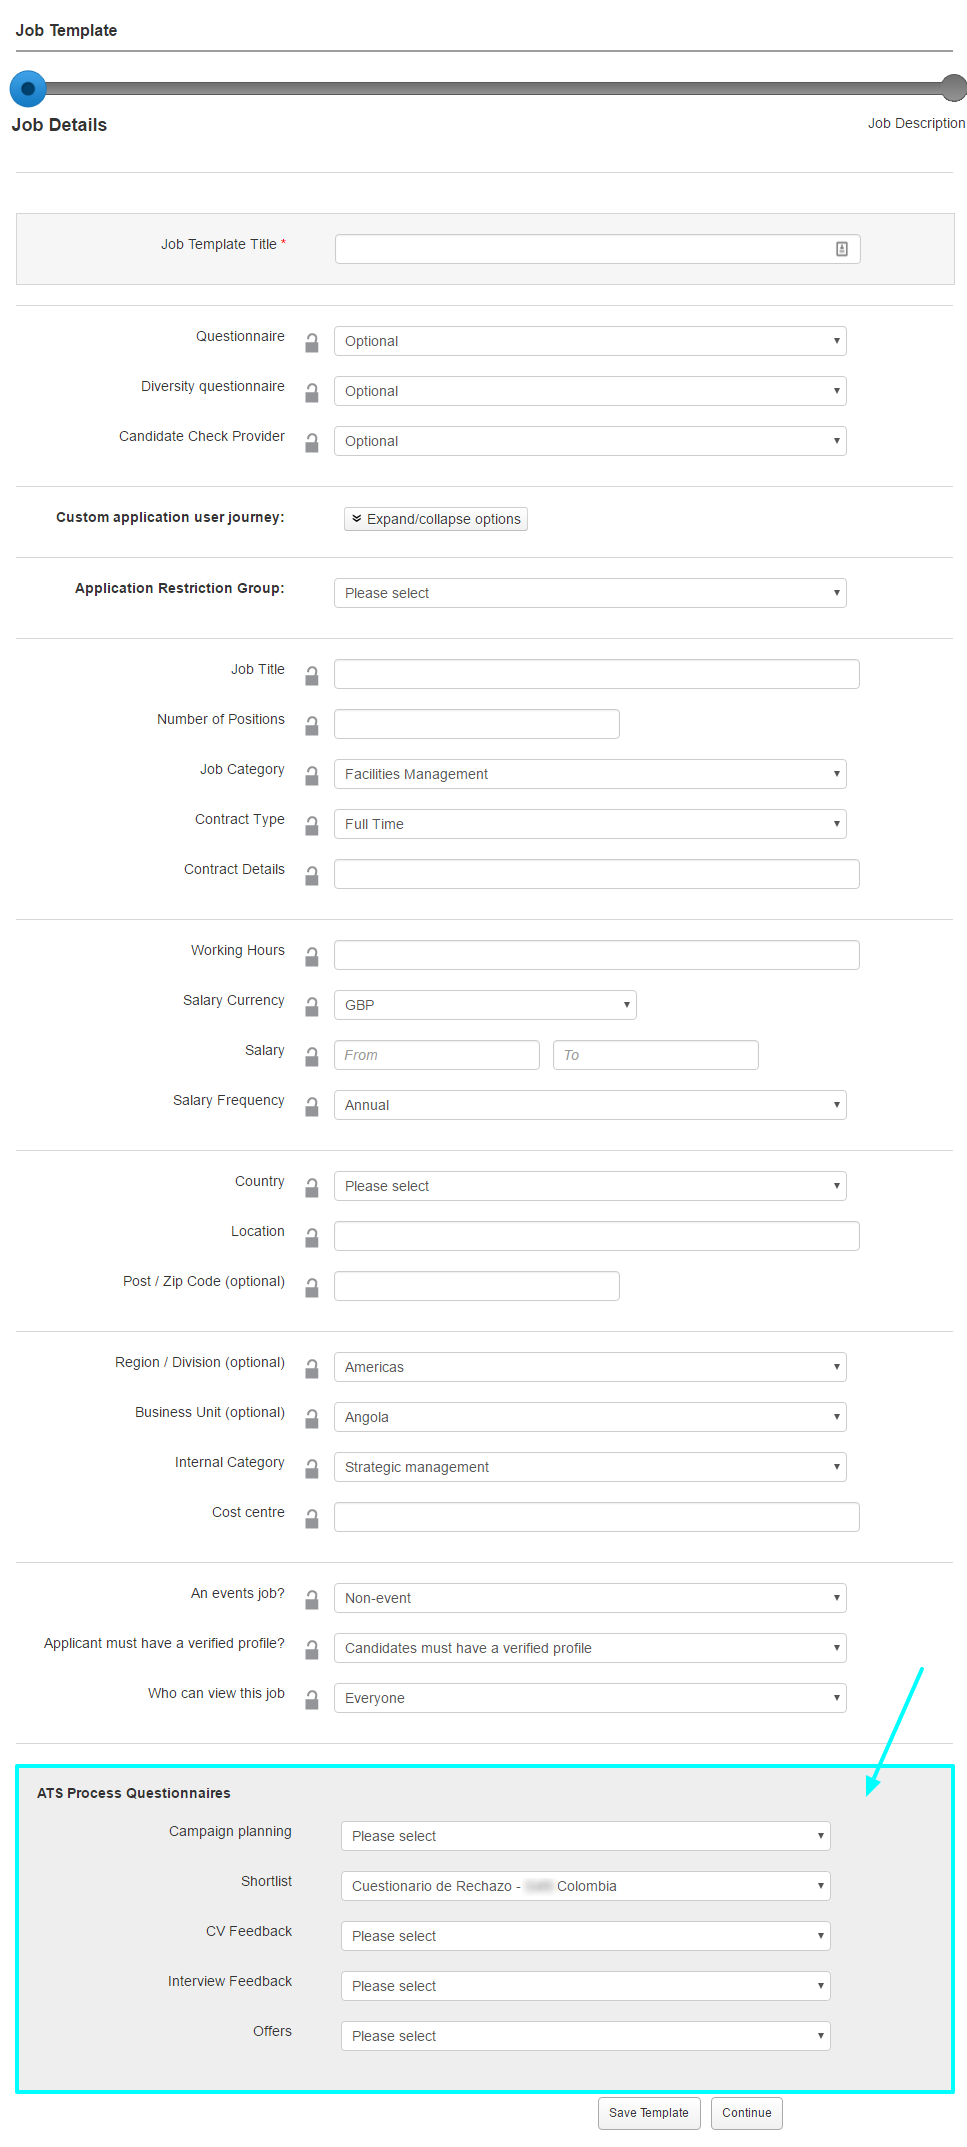
ATS Process Questionnaires
Use the dropdowns to specify any ATS Process Questionnaires you wish to assign to the job:
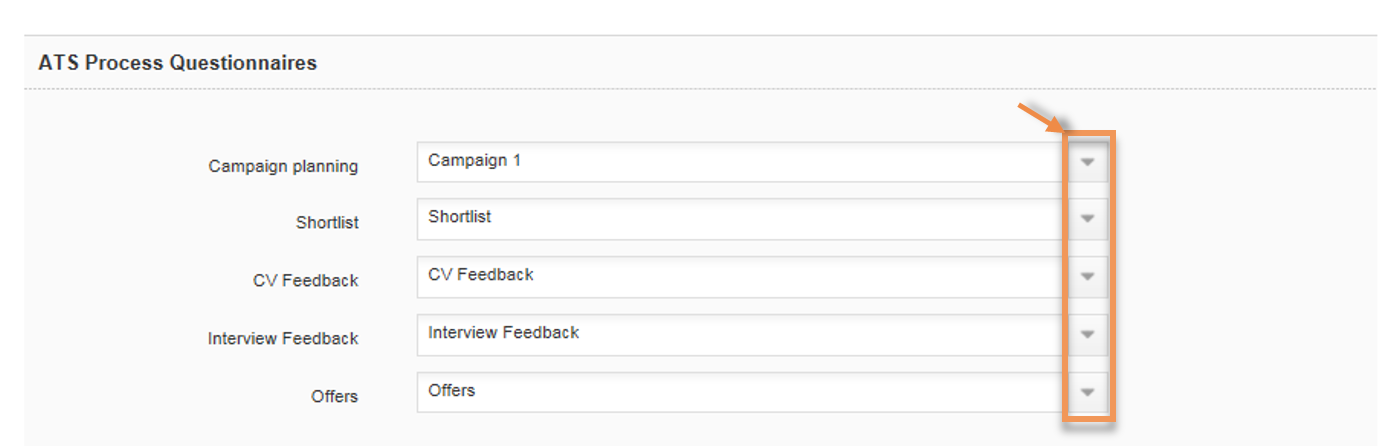
For more information on creating process questionnaires, see Create Questionnaires.
Dates
To add the required valid from and job expiry dates, just click the associated date picker icons. This will display a calendar enabling the correct date to be selected:

Visible to
Use the Visible to fields in combination with the date fields to specify when a job should be visible and to which candidate types. To specify the candidate type, click on the dropdown arrow for the required field and select the appropriate option. In this example, a job will be searchable from 28 Jul 2016 for internal candidates only, and then from 08 Aug 2016 for all candidates. The job will expire on 28 Aug 2016.
Tip! Selecting Evergreen job will ensure that your role always remains open – use this for roles you’re continuously recruiting for.
NOTE: Visible to No one means that the job can only be viewed if the link or job reference number is known.
Cancel, Finish or Next
The following buttons are available at the bottom of the Job Details screen:

- Cancel – when clicked any details entered so far will not be saved and you will be returned to the Jobs List
- Finish – when clicked the details entered so far will be saved and you will be returned to the Jobs List – the job will be found in your incomplete jobs list (drafts)
- Next – when clicked the details entered so far will be saved and you will progress to the next stage of job creation – Create job description
Note: To progress to the next stage, or to save job, you must complete all required fields first.
> Help & Support


